
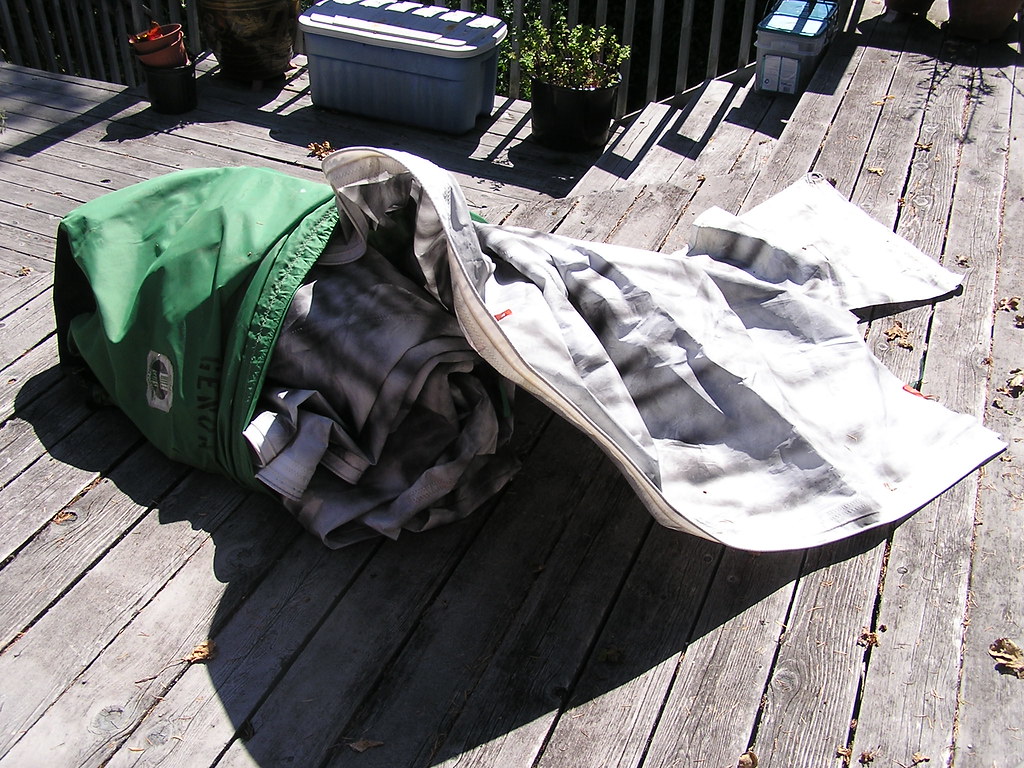
No sail? You could recycle the leaky old canvas tent in your uncle's garage, or a car cover you no longer have a car for, or whatever you want. It just needs to be strong stuff.
So, stop blathering and on with the tutorial right?
 |
| The smaller bag, with pockets on the inside. |
This very simple duffel bag is my own design and comes in two sizes - the smaller is 18" x 9" x 9", and the larger is 36" x 18" X 18" (it's the biggest duffel bag I have ever seen - I think I could zip myself into it, which is no small feat). It has a large pocket on either side which can be either on the inside or the outside of the bag. The straps on the big bag are long enough to carry it on your shoulder.
You Need: Small (Large)
- 1 rectangle of fabric 29 1/4" x 19" (57 1/2" x 37") - the main body of the bag.
- 1 rectangle of fabric 19 3/4" x 10" (38 1/2" x 19") - the pocket.
- 2 circles of fabric 10" (19") in diameter.
- Strap material - I used 1" nylon web, for its quick-drying non-mildewing properties, but it's really rough on the hands. Cotton belting would be nicer to hold (and look nicer, in my opinion). About 3 yards was enough for the small bag, and I can't remember how much I used (sorry!) for the big one - maybe 5 - 6 yards.
- Heavy duty thread to match.
- Extra wide double fold bias tape (it'll be inside so don't worry about colour if you already have some).
- Leather sewing machine needles.
- 18" (36") heavy duty zipper.
All seam allowances are 1/2"
Use zigzag stitch at the widest setting unless otherwise noted, especially if you are using sail cloth or any other fabric that is significantly weakened at the seams.

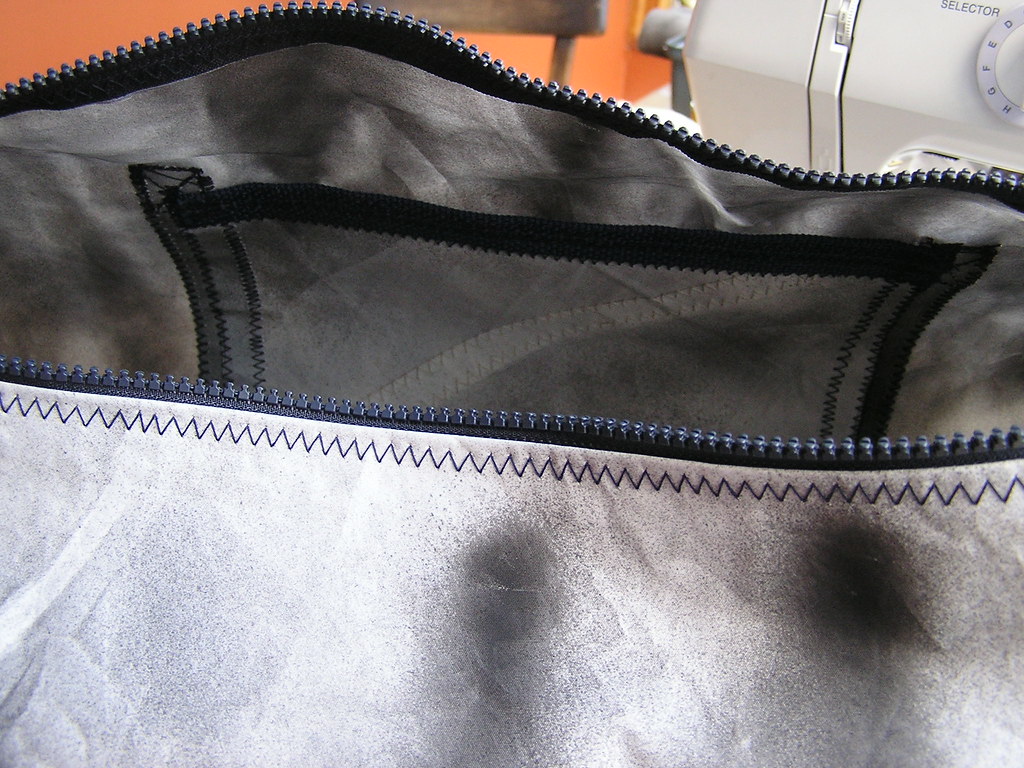
Sew strap material to the short ends of your smaller rectangle, lining the edge of the fabric up at about the centre of the strap and sewing over both the edge of the belting and the edge of the fabric (see above pic - I don't think I'm describing it very well).
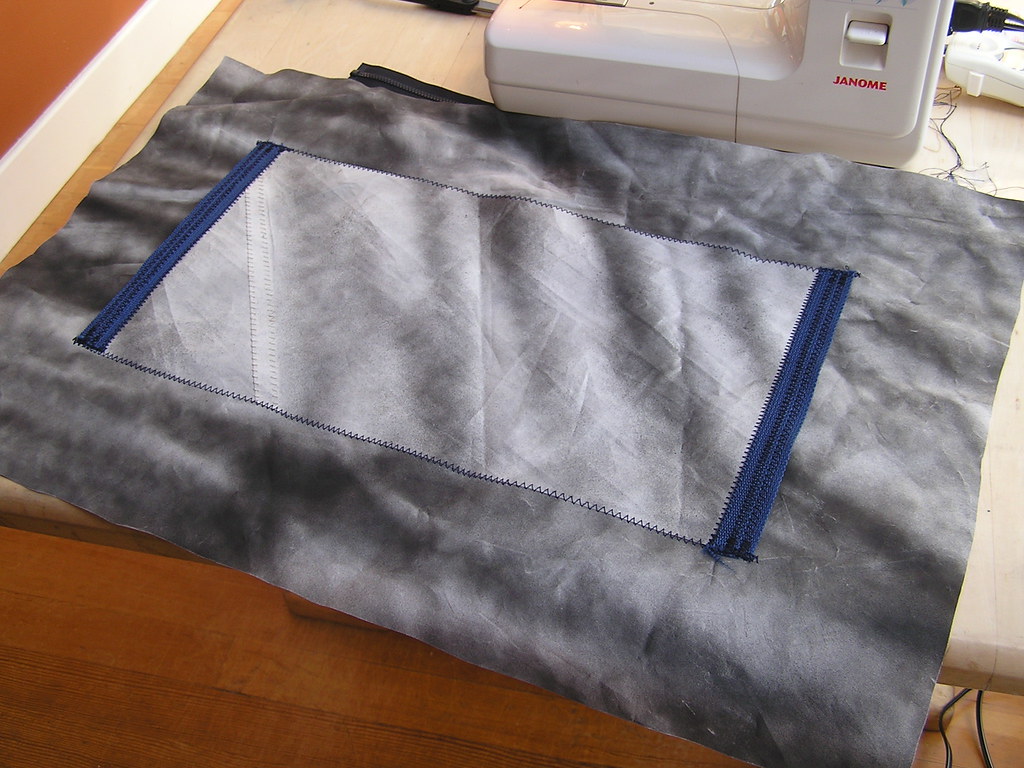
Centre your smaller rectangle on your larger one, making sure the sides are parallel, and sew along the long sides. The correct side of the fabric to sew your rectangle to is determined by whether you want the pockets to be on the inside or the outside of the bag. Sew across the centre of the pocket piece width-wise if you don't want to be able to access the entire pocket from either opening.
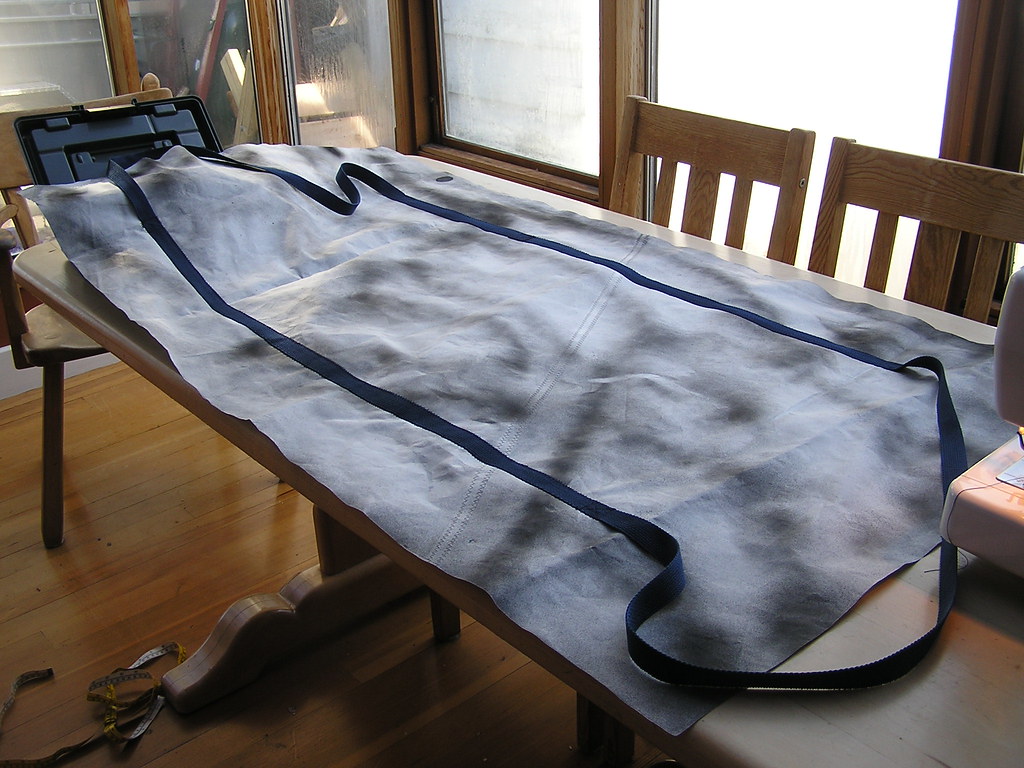
Starting somewhere near the centre of one of the long pocket seams (with the pocket facing out for an outside pocket, or, like the picture, in for an inside pocket), apply your strap. Use the pocket seam as a guideline - it should be centred under the strap. Zigzag over both edges of the strap. Stop sewing the strap when you reach the end of the pocket seam. Measure 23" (42") along the strap material and leave this much loose - it will be your bag handle. Do not cut the strap - just line the 23" (42") point up with the top of the pocket seam on the other side of the bag and continue sewing. Create a bag handle the same way when you reach the end of this pocket seam. Sew until the strap overlaps by an inch or so. Basically, you will use a single, long piece of strap material to create a very large loop. The sewn down parts of the straps will provide support and strength for the underside of your bag, allowing you to carry very heavy loads without fear of your bag ripping. Reinforce the ends of your seams and the beginning and end of your loop by sewing an X in straight stitch over these areas.
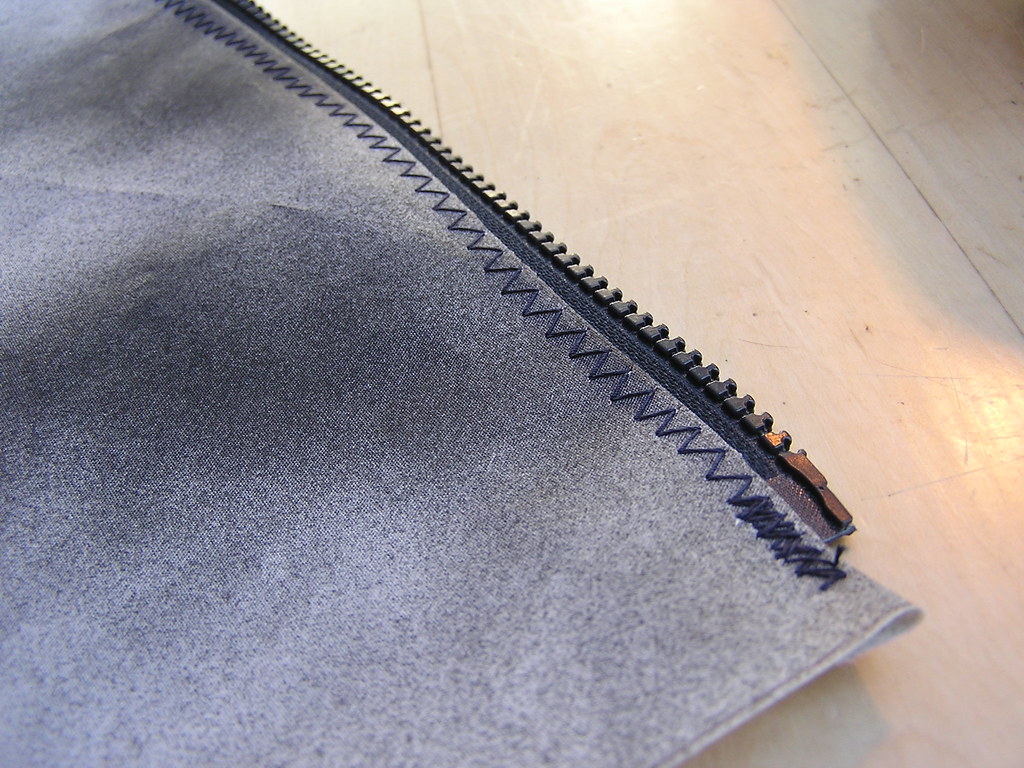
Using a zig zag stitch, apply your zipper along the short ends of your large rectangle, leaving 1/2 inch of space at each end of the zipper.
Zip it up! Make sure it all works - it should be a bag without ends.
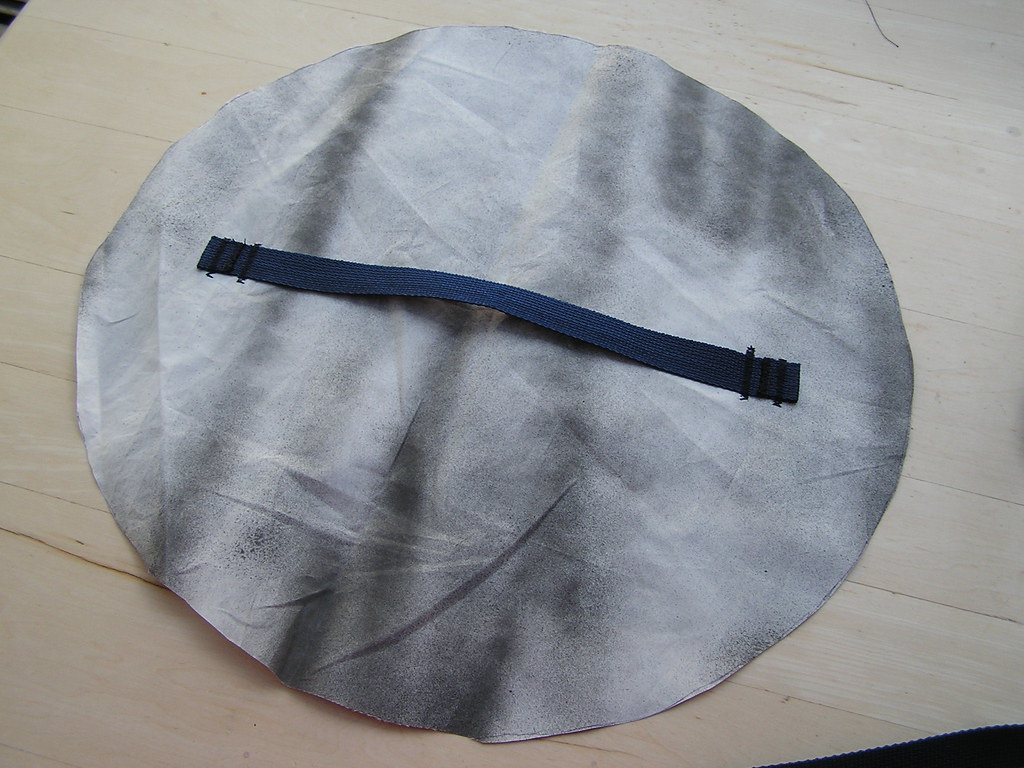
If it suits your needs, sew a length of strap along the diameter line of one or both of your end circles for an extra handle. There's really no need on the small bag, but the big one... yeah you may want that extra handle because if you fill it up all the way you'll want your buddies to help you carry it.

Turn the zipped bag inside out and sew one of your circles of fabric (strap side IN) into the end the zipper tab is at when the zipper is closed, then bind the seam with bias tape (using a straight stitch). As you can see from the picture, my bias tape application is all wonky - my sewing machine wasn't handling this project very well, and this is by far the trickiest bit of sewing. Don't clip notches into your seam allowance before applying the bias tape - it will weaken your bag, and strength is more important than tidy seams in this project. IMPORTANT: Before you sew on the other end (same process as the first), open the zipper a few inches!!! Otherwise you won't be able to open it to turn your bag right side out again. Then you'll feel foolish.

Turn your bag the right way out, and admire your handiwork! This small bag, when made out of recycled sail, weighs next to nothing, and holds its shape. It is a very handy little bag.
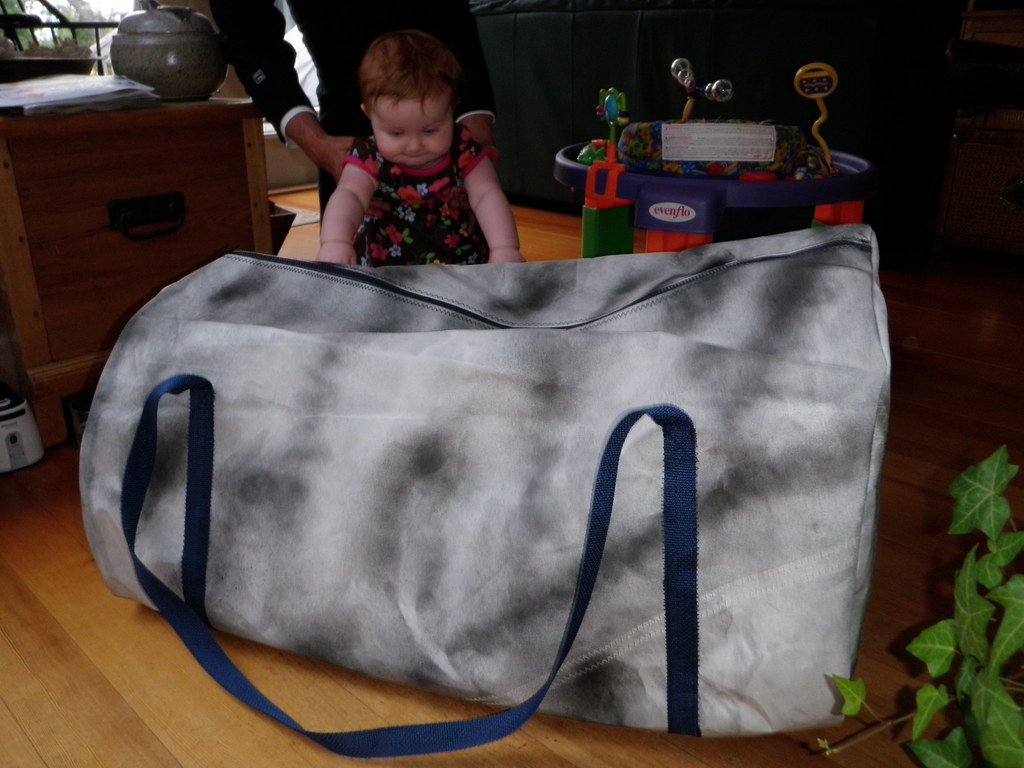
There's the big bag - R is less than 8 months old in this picture, but look how tiny she is compared to it! Aww.
Happy trails - I'm sure you'll get lots of use out of these bad boys.
this is great! thanks!
ReplyDeleteHey!
ReplyDeleteI was thinking of making one of these for my dad as well!
What kind of sewing machine do you have? Because I really don't want to ruin it, since I just got it :p
But this is kind of a heavy duty machine project!
This project was done on a very lightweight basic Janome, but because it was sailcloth, which is very thin, the actual sewing wasn't too hard on the machine. I did use a leather needle though to help pierce the material. I think a denser material (say, canvas) would definitely require a tougher machine.
DeleteIf you are in love with the ocean and are looking for something stylish yet functional Recycled Sail Bags to carry your goods, you will find Ella Vickers Recycled Sailcloth Collection bags to be a perfect fit. They are not only useful but they will also last for years.
ReplyDeleteElla Vickers Sailcloth Collection (EVSC) is aRecycled Sail Bags selection of Recycled Sail Bags, Sailcloth totes, Sailing, Tote bags, Seabags, Duffel, Beach totes.
ReplyDeleteThe small one is to small and the big one is to big hehehe mama bear wants one in the middle thats "just right"
ReplyDeleteI second that!
DeleteHi! I was wondering what the measurements would be for a bag a bit smaller than your large one. Looking for something to see back pack straps on to bring to regattas. Something close to the Patagonia 90L maybe? Thanks!
ReplyDeleteSuper blog and very interesting information which I always wanted to search many article but you article is really fantastic Women leather purse
ReplyDeleteGlad to visit your blog. Thanks for great post that you share to us...
ReplyDeleteIts really wonderful and watchable. I like to share it with all my friends and hope they will definitely like it.
ReplyDelete