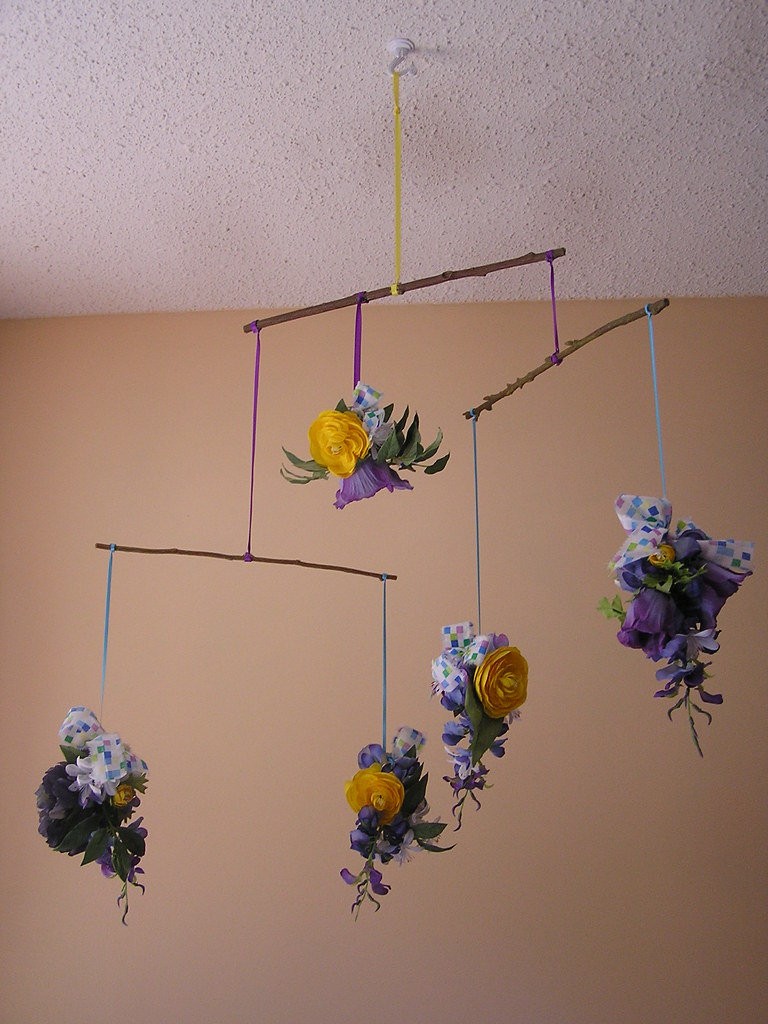
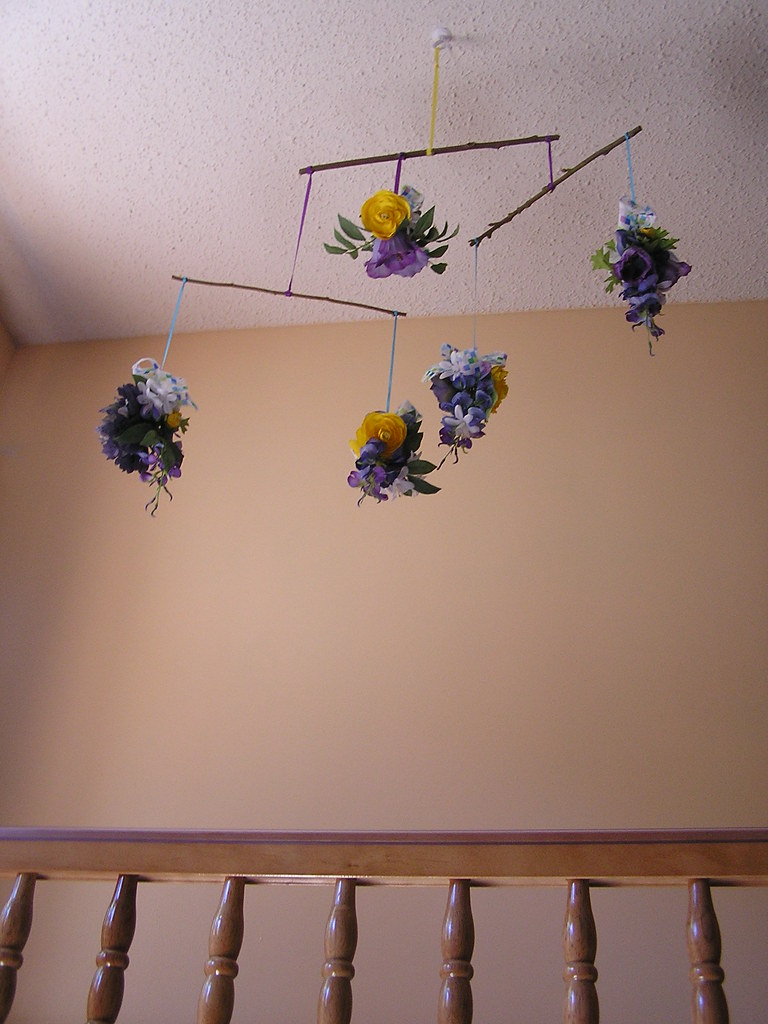
When we were decorating R's room I really wanted to avoid the pretty pink princess look. I'm just not feminine like that, and cute little girly things tend to get my hackles up. Instead, I chose to focus on a palette of greens, blues, purples and yellow. I love hanging mobiles and they look so sweet over a crib, but most of the ones I have seen in stores are tiny and cheap and tacky and attach to the side of the crib, or are stunning but prohibitively expensive. I wanted something with a little more oomph but on the cheap. And so, the hanging bouquet mobile was born.
Isn't that just the worst paint colour by the way? It looks like that 'flesh tone' coloured pencil crayon that doesn't remotely resemble the skin of anyone you have ever met.
To make the mobile you need:
- a large bouquet of fake flowers, some of which need to have long, fake wood stems.
- ribbon in colours that coordinate with your flowers
- hot glue
- sturdy wire cutters (or wimpy little ones augmented by determination, elbow grease, and muttered profanities)

Begin assembling flowers and leaves however you like them, using lots and lots of hot glue (seriously, go nuts) to secure them together. If you are gluing flowers with very thin plastic stems, be aware that the glue may be hot enough to melt the plastic. Sometimes I found it worked best to apply the glue, let it cool quite a bit, and then smush the little stems into the glue blobs.
I used clusters of wisteria as a base and built corsage shaped flower clusters. Little flower spheres would be super cute and have a more modern look. Don't forget leaves! I topped my clusters off with a bow using torn strips of fabric left over from the curtains and bed skirt I made. This really pulled the whole room together. However, using the same ribbons as you string the mobile with would be very pretty as well.
Make five clusters: two for each of the bottom branches and one for the middle of the top branch. After the glue has cooled all the way, do your best to remove all those nasty little hot glue cobwebs clinging to your flowers.
Stringing the mobile is the hardest part. I tried it with fishing wire, but I found that this particular mobile looks goofy if you can't see what's holding it together. So I left it on the table for a while to rethink my options and the cat came in and chewed up all the fishing wire. It wasn't meant to be.
Start with your bottom tier branches. Choose two bunches of flowers and tie a length of ribbon to them and then to the ends of the branch. Don't make the lengths of ribbon too even unless your flower clusters are very symmetrical and you are aiming for a geometric effect. Mine had an inch or two of difference, giving the mobile a more natural look. And yeah I know it isn't exactly natural for bunches of flowers to hang from flying branches. You know what I mean. Hide the knot on the branch by wrapping the loose end of the ribbon over it and securing it with a dot of glue.
Once your bottom branches have their flowers attached, find the midpoint of the branch by balancing it on your finger. You don't want it to tip even a little bit in either direction - it should sit perfectly horizontally on the tip of your finger. Tie one end of a strip of ribbon around this point and hold it up to test the balance. Make any adjustments necessary and then put a tiny dot of glue on either side of the knot so the branch can't slide. Do this for both bottom branches.
Secure the bottom branch ribbons to the ends of the top branch the same way you tied the flowers to the bottom branch. You will want the ribbons to be quite different in length (a few inches). Hang one side, hold it up and see if you like it, then do the other. Make sure your bottom branches can spin without getting hung up in each other's ribbons. If the bottom branches are too long you may run into this problem.
Using a fairly short bit of ribbon, tie the fifth flower cluster to the top branch. It needn't be in the dead centre - play around with the placement and do what looks best. Make sure it doesn't interfere with the other branches and ribbons.
Find the balance point of the top branch and tie a ribbon there, just like you did with the lower branches. A loop in the other end of the ribbon can be used to hang your mobile. Make sure that it is secure if you are hanging it over a crib - use the proper hardware for your ceiling. You would feel like a terrible parent and a failed crafter if it fell on your kid. Don't hang it low enough that an older baby could grab it, and be mindful of the fact that you do need to be able to lean over the crib without getting bopped in the face by an errant bunch of flowers.
R loves this mobile. It's very large and striking, and it absolutely mesmerizes her when I give it a spin. Have fun!


This is gorgeous!! And I actually think it looks quite pretty with the wall color. : )
ReplyDeleteThanks! I'm glad someone likes the wall colour ;)
ReplyDeleteThat's my favorite nail polish color you have on wall. you have amazing ideas. Thanks
ReplyDelete